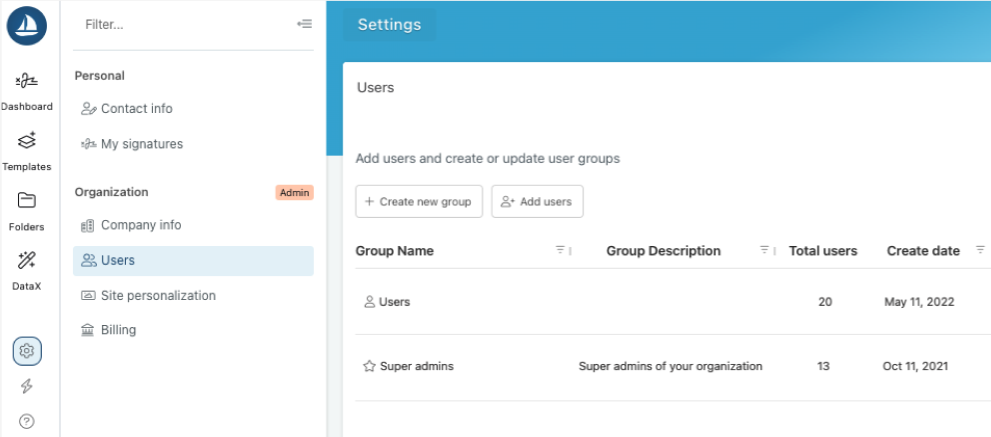
- To access Users and User groups settings, click the settings menu at the bottom left, then click Users in the side-panel.
- Two default groups will always be present: Super admins & All Users.
- New groups can be added at any time.
- Users can be members of multiple groups.
Note: you must be an admin to access user groups.
Super Admins have full permissions in Harbour. They can view and edit all data created by anyone in Harbour -including agreements, links, and templates. They can also add users, create User Groups, handle integrations, and manage billing.
Group Admins in a group have permissions in Harbour to view and edit all data created by anyone in the group in which they are an admin. They can also add users to the group where they are an admin.
Users (non-admins) have permissions in Harbour to view and edit all items in Harbour that they created themselves. Users can view others' agreements and folders only if they have been explicitly shared with them by the folder owner. Users cannot add users, handle integrations, or manage billing.
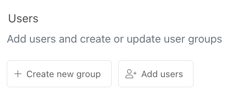
Adding users
To add a new user you must be an admin.
- Navigate to Settings in the bottom left and under Organization, click add Users.
- Select the group you wish to add them to from the dropdown.
- Type or import the email of the person you wish to add.
- Click Save.
Deleting users
To delete an existing user you must be an admin.
- Click Edit under the Actions menu on the right on any existing group.
- Click the X icon on the user you wish to delete.
- Click Save.
Important note: to delete a user completely and eliminate all access to Harbour, be sure to also delete the user from the Default Users group.
User Groups
User Groups are set up by admins to establish different groups within their company workspace in addition to Super Admins and Users. User Groups could be broken out by job teams, functions, or can be project or event based.
Creating a User Group
To create a new User Group, you must be a Super Admin.
- Navigate to Settings in the bottom left and under Organization, click + Create new group
- Add a group name and optional description on the left.
- Add or import user emails on the right. You can either type emails in manually or import from a spreadsheet or comma separate listed.
Note: If you add a user who is not already in the default Users group, they will be added to your newly created user group AND the default Users group. - Click Save.
What's next?
Share your Templates with specific User Groups: learn more!
Share your links to specific User Groups: learn more!