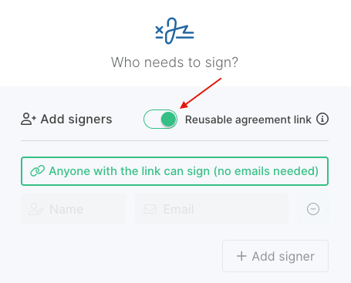
1. Upload your agreement
Set it is a Reusable agreement link, click Next, then drag on inputs in the next step to define where users will sign. Click Next to continue.
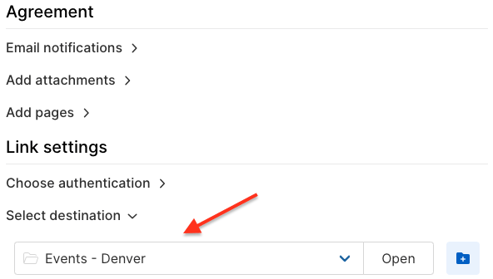
2. Set the destination folder
Select the Harbour folder where you want the waivers to be stored from the dropdown. You can click the + to create a new folder specifically for this event if preferred. Then click Create.
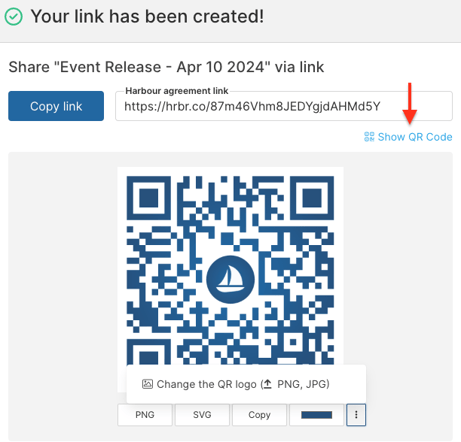
3. Customize the QR code
Click Show QR code in the success modal to customize the color and logo. You can download as PNG or SVG and share with your team.
Tips:
- Re-access and customize QR Codes at any time
It's recommended to share the QR code with teams who will be on-site. You can either keep the image stored on a phone/ipad that will be at the event, or even print it out and post it at appropriate locations on-site. At anytime, you can re-access the QR Code via dashboard. Learn more: How to customize and re-access QR codes - Share the event folder with your team
If you're working with a team, you can Share the destination folder where agreements will land (defined in step 2). Learn more: How to share folders - Email notifications are adjustable
In the link settings (step 2), you can adjust email notifications to the level of communication you want to receive. For large events, it is recommended to turn off the view and completion notifications so your inbox is not flooded. - Templates can speed up the process
If your organization has a standardized waiver for events set up as a template you can create a link from that template and start at step 2 above. Learn more: How to create a template